Seven Common Mistakes When Replacing Slipped or Broken Slates
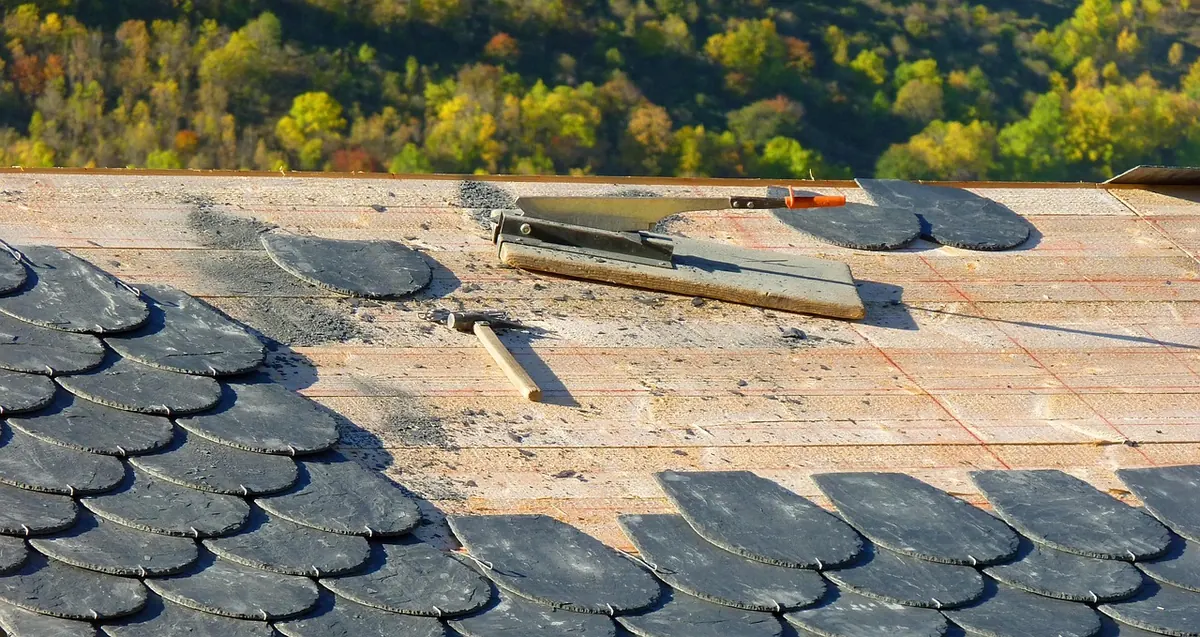
A slipped slate looks like a ten-minute job, but wrong nails, mismatched sizes and torn underlay turn a...

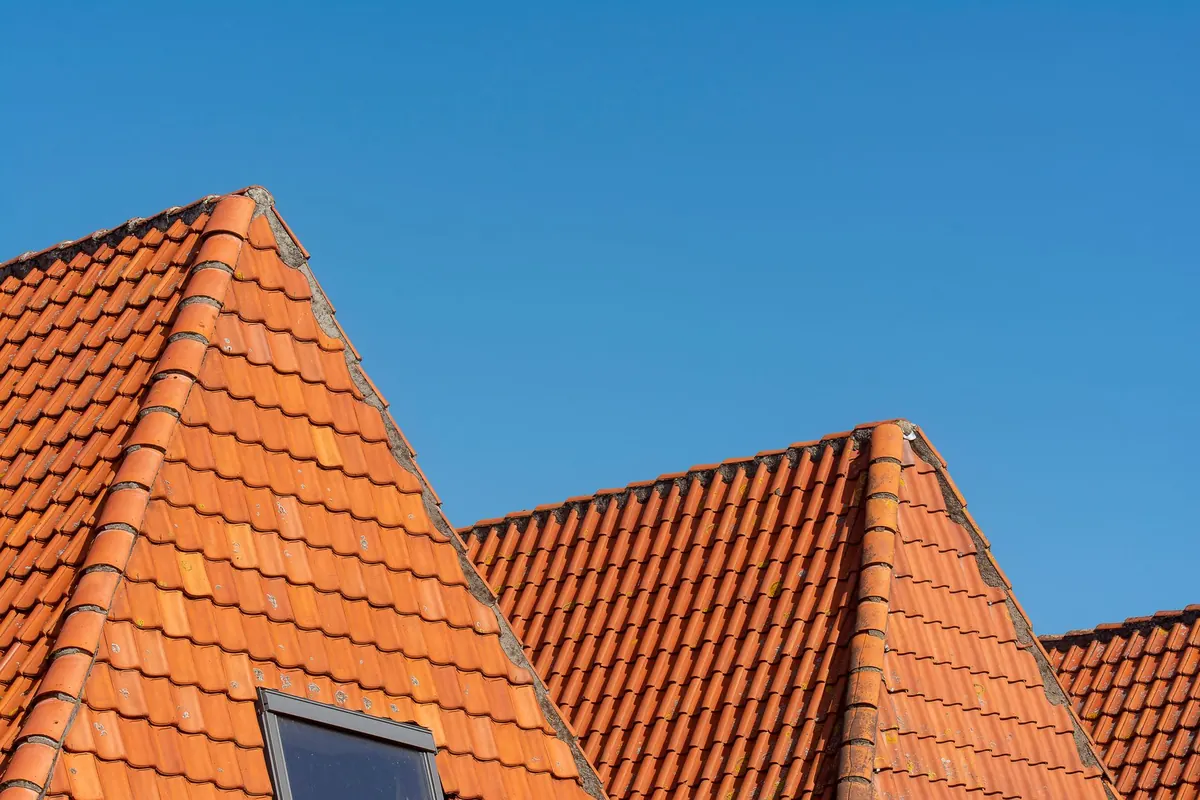
A slate roof is mostly repetition: hundreds of tiles, laid to the same gauge, doing the same job. What people actually see from the pavement — and what decides whether a finished roof looks settled or slightly wrong — is the detailing at the edges. Ridges, hips and valleys are where the geometry changes, where water concentrates, and where the difference between a competent roof and a handsome one is settled. These are the decisions worth agreeing on paper before the scaffold goes up.
The ridge is the first line anyone notices from the road, and it is also the most weather-beaten part of the roof. Three approaches are common, and each suits a different building.
The traditional method: a ridge board or batten runs along the apex, tiles are bedded onto a relatively weak sand-and-cement mix — often around 1:3 or 1:4, sometimes with a little lime for flexibility — and then pointed. A weak mix matters. Strong, brittle mortar cracks as the roof moves with temperature, and cracked bedding lets water in. Bedded ridges look right on older buildings and can be re-pointed every decade or so, but they need a little maintenance and they do not respond well to prolonged freeze-thaw on exposed sites.
A dry ridge replaces mortar with fixings: a ridge batten fixed down to the rafters, then ridge unions or brackets screwed to that batten, with the ridge tiles screwed or clipped in place over a foam or EPDM seal. The line of the ridge stays straight, the tiles stay put in high winds, and many systems double as apex ventilation, which is useful where the roof void needs air movement. They can also be installed in weather that would stop a mortar job. The trade-off is a slightly more engineered appearance and a higher up-front material cost; the reward is less ongoing attention.
On older roofs, particularly where heavy slates or stone slates have been used, a dressed lead roll over a timber core is a beautiful alternative to ridge tiles. It weathers to a soft grey, cannot blow off, and takes up movement without cracking. It is slower to install and needs a skilled hand to dress it neatly, which is why it survives mainly on heritage work — and why it is often specified on listed buildings.
A hip is harder work than a ridge because tiles are cut to meet along a sloping arris that is not straight in plan. The build-up is fairly consistent: a hip iron (sometimes called a hip hook) fixed at the foot of the hip to support the lowest hip tile, a hip batten running the length of the arris, a hip tray in lead or GRP laid over it, and then hip tiles bedded in mortar or screwed onto dry-fix unions.
Two details catch people out. First, the slates either side of the hip need a consistent cut and a consistent gap; ragged cutting shows immediately, even from ground level. Second, fixings should be stainless steel or properly galvanised — a rusting hip iron will stain the slates below it for years. Dry hip systems cope well with slightly irregular roof angles because the unions are adjustable, which is handy on older buildings that are nowhere near as square as they look.
Valleys carry more water per square metre than any other part of a roof, so this is not the place to economise. Whatever the visible treatment, it sits on a valley board — a flat, supported surface with a fall — rather than being laid directly over the battens.
The slates stop short on both sides and the valley is lined in code 4 or code 5 sheet lead, leaving a visible channel. It is the easiest to maintain, the easiest to clear, and the most forgiving. Lead moves with heat and cold, so it is normally fixed with clips or dabs rather than nailed rigid through the middle, and the joints at the top of the valley need a proper step. Longer valleys are best split into lengths with steps rather than run in one continuous sheet.
Here the slates carry into the valley, with courses laced or swept so each one oversails the next. Mortar is bedded beneath the cuts to support them. The result is a softer, more traditional junction that suits older roofs, and it takes real skill to set out. It also hides the lining, which means any failure underneath stays hidden for longer.
The neatest of the lot: slates cut diagonally and closed tightly together over a lined valley board. On a sheltered, well-detailed roof it looks superb. On an exposed gable end with driving rain, a tight mitre gives water fewer places to go and less room to escape. If in doubt, open the valley out.
These junctions follow the same logic as the ridges and hips. Soakers and step flashings at a wall should be dressed in lead to suit the slate gauge, with a secret gutter behind the wall if the abutment takes a lot of runoff. Verge details run either wet — an undercloak of fibre cement bedded in mortar — or dry, using a proprietary verge strip. It pays to be consistent: if the ridge is dry-fixed, hips and verges usually follow, and a roof that mixes systems at random tends to look improvised.
Details that cannot be seen still have to be right — a valley under the slates is not a place to save an hour.
Before settling on a system, work through the practical points:
Get the ridge, hip and valley details drawn and agreed as part of the quotation. Name the ridge tile profile and colour, the mortar mix if you are bedding, the dry-fix system and its fixings, the lead code and valley width, and who is responsible for the valley boards. Check that dry-fix components come from a single compatible system rather than being mixed between brands, and that any foam or seal is suitable for the exposure of the site. Apply patination oil to new lead once, on a dry day, to stop the initial staining of slates below.
Then, on site, look at the first few metres before the whole roof follows. A ridge line judged by eye from the ground, a hip cut set out with a string line, a valley cleared of mortar droppings as the work proceeds — small checks, made early, that decide whether the finished roof looks effortless or slightly off. If your building is listed, or you are working near a boundary or with structural alterations, take professional advice from a qualified roofer or surveyor before committing.
Photo: Jan van der Wolf / Pexels
A slipped slate looks like a ten-minute job, but wrong nails, mismatched sizes and torn underlay turn a...
A month-by-month routine for inspecting a slate roof from the ground, spotting slipped slates and blocked...
Twelve seasonal jobs — from clearing gutters and checking flashings to replacing slipped slates and...